The benefit of using large pages
CPUs have a virtual memory space that is decoupled from the actual physical memory, in blocks called pages. Usually these are 4KB (4096 bytes) in size, and so there are a lot of pages used in rendering large images.
Because the IFS process leads to very incoherent memory access patterns, the CPU cache for page mappings (the TLB) can thrash pretty hard. By using large pages, which are typically 2MB in size, these cache misses are much less frequent, leading to substantially improved performance. 10-20% overall rendering speed improvement on an i7 CPU is common, and the speedup increases at higher resolution.
Here's an example from a 4K (3840x2160) AA 2 animation frame, showing a 12% speedup:

Without large pages.

With large pages.
How to enable large page support on Windows
Programs can be given permissions to lock pages in memory in the Local Security Policy settings; Windows Home or starter versions don't include an interface for this, however there are guides for this as well.
This section assumes you're using Windows Professional, Enterprise, Ultimate or Server:
- From the Start menu, open Local Security Policy (under Administrative Tools).
- Under Local Policies\User Rights Assignment, double click the Lock Pages in Memory setting.
- Click Add User or Group and type your Windows user name.
- Either log off and then log back in or restart your computer - unfortunately it won't work without this step.
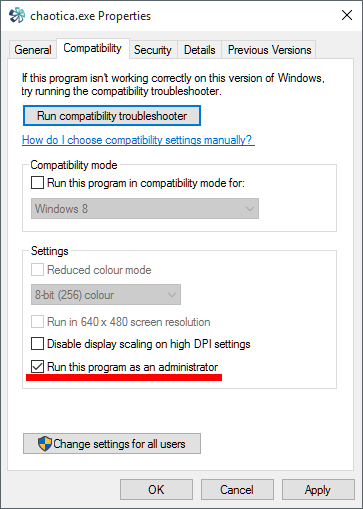
Editing your shortcut to run as Administrator
Programs furthermore need to be run with Admin privileges in order to use large page allocations. To avoid having to right-click and select Run as Administrator every time, you can edit your shortcut to do this automatically, in the "Compatibility" section:
Troubleshooting
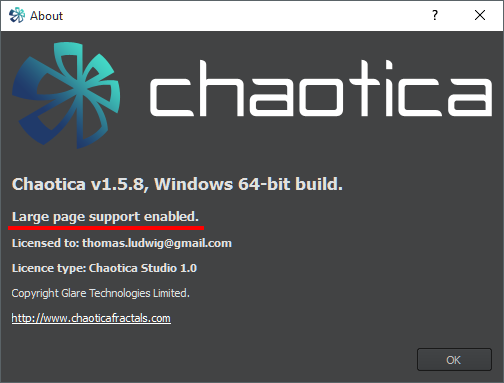
You can verify that large page support is enabled by opening the About dialog, which will say "Large page support enabled" if it could successfully get the permissions for large page allocations.